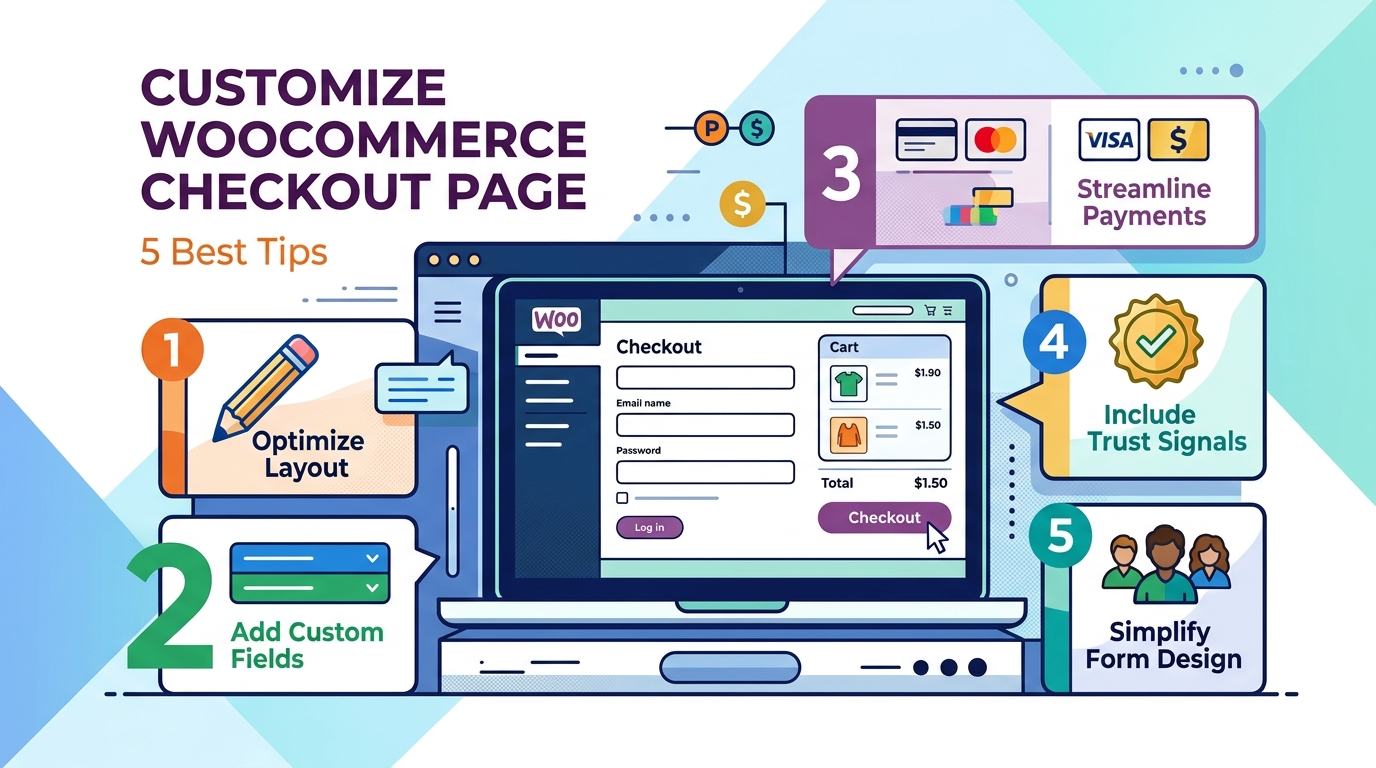
Customizing WooCommerce checkout page means adjusting its form fields, layout, payment options, and trust elements to reduce cart abandonment and increase conversions — and it’s one of the highest-leverage changes an ecommerce store owner can make, because even small friction at this final step costs real sales.
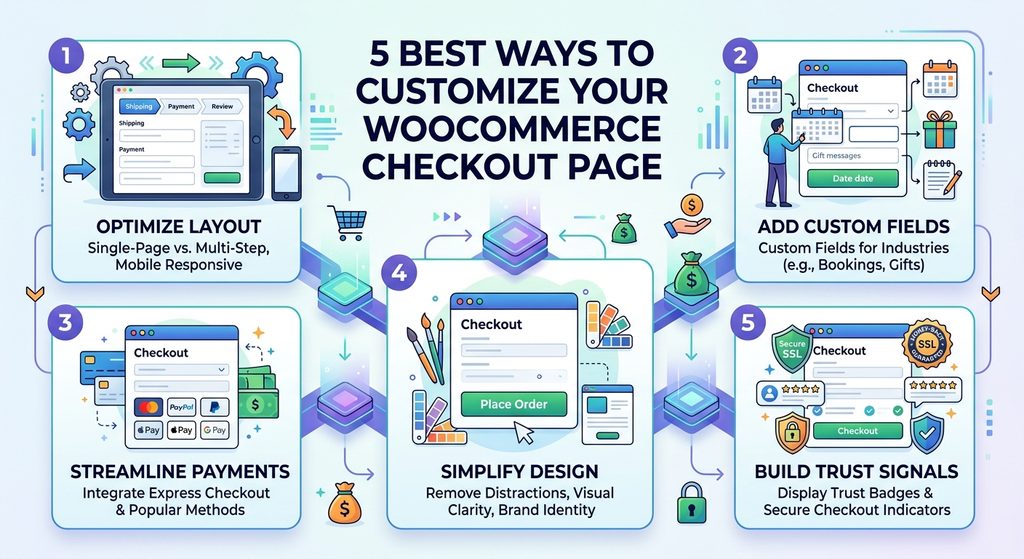
A lot of potential sales are lost right at the checkout page. Shoppers decide to buy, but they leave when they see long forms, confusing layouts, or missing payment options. This guide shows you step-by-step how to fix your checkout page—covering speed, design, trust signals, payment methods, rewards, and legal requirements so you can convert more buyers.
Quick answer: To customize the WooCommerce checkout page, remove unnecessary form fields, enable guest checkout, strip distracting navigation from the page, match the design to your brand, and add relevant trust signals or shipping options. Most of this can be done through the block editor or Customizer, with plugins or child-theme code needed for more advanced changes.
In this guide:
- Why Checkout Page Customization Matters
- 1. Speed Up the Checkout Flow
- 2. Improve Checkout Page Appearance and Branding
- 3. Turn Checkout Into a Loyalty and Satisfaction Touchpoint
- 4. Use Checkout as a Marketing Opt-In Moment
- 5. Add Custom Fields for Industry or Legal Requirements
- Common Mistakes to Avoid
Why Checkout Page Customization Matters
Customizing your checkout page directly improves conversion rate, average order value, and customer trust — three outcomes the default WooCommerce checkout isn’t built to optimize for any specific store.
The default setup works, but “works” and “optimized” aren’t the same thing. Your theme, product type, and customer expectations are unique to your business, so a generic template is never the ideal fit. Checkout customization specifically helps you:
- Reduce abandonment caused by long forms, forced account creation, or unclear steps
- Increase average order value (AOV) through relevant upsells, add-ons, and bundled offers
- Build trust at the exact moment a customer is about to hand over payment details
- Capture only the data you need for your specific business model
- Grow your marketing list without adding friction to the purchase itself
Each of the following sections tackles one of these outcomes directly, so you can jump to whichever applies to your store.
1. Speed Up the Checkout Flow
A faster checkout flow reduces abandonment because most cart abandonment is a friction problem, not a pricing problem — shoppers leave when the process feels slow or confusing, even when they genuinely intended to buy.
Trim the Form to Only Essential Fields
Removing unnecessary checkout fields is the single fastest way to shorten your form and reduce hesitation. Common fields worth removing or hiding:
- Company name
- Address line 2
- Order notes
- Phone number (unless required by your shipping carrier)
You can remove these fields using:
- The block editor — Appearance → Editor → Pages → Checkout on a block-enabled theme
- The Customizer — Appearance → Customize → WooCommerce → Checkout on non-block themes
- A checkout field editor plugin for granular control over billing, shipping, and additional fields
- A PHP snippet in your child theme’s
functions.php, using thewoocommerce_checkout_fieldsfilter, if your checkout still uses the[woocommerce_checkout]shortcode
Always make code-based edits inside a child theme so your changes survive future theme updates — this single habit prevents the most common source of checkout customizations getting silently wiped out.
Remove Header, Footer, and Navigation Distractions
Stripping the header, footer, and navigation from your checkout page keeps shoppers focused on completing their purchase instead of browsing elsewhere. To do this:
- Build a dedicated checkout template in the Site Editor (Appearance → Editor → Templates → WooCommerce → Page: Checkout) and delete the header/footer blocks
- Use a page builder’s built-in “distraction-free checkout” setting if available
- Add CSS or a PHP snippet targeting
is_checkout()to hide header and footer elements only on that page
Keep your logo visible for brand consistency; everything else that could lead a shopper away from finishing checkout should be removed.
Confirm your caching plugin or host excludes checkout pages, and follow a dedicated WordPress speed blueprint so your dynamic pages load instantly.
Enable Guest Checkout and Keep Account Creation Optional
Making account creation optional — not mandatory — prevents a well-documented source of abandonment, since a meaningful share of shoppers will abandon a purchase entirely rather than create a new account. Enable guest checkout under WooCommerce → Settings → Accounts & Privacy, while still allowing customers to create an account if they want order history and faster future checkouts.
To keep guest checkout fast without forcing logins, rely on:
- Browser-based autofill (Chrome, Safari, and Firefox all support this)
- Address autocomplete tools that reduce manual typing
- Saved payment details inside digital wallets like Apple Pay or Google Pay
Match Checkout Structure to Your Business Type
Choosing the right checkout structure — single-page, multi-step, or on-page — depends on your catalog size and order complexity, not on which format is trendiest.
- Single-page checkout suits stores with a small catalog or a single-product offer
- Multi-step checkout breaks the form into stages (shipping, payment, review), useful for stores collecting more information or dealing with mobile scrolling issues
- On-page checkout embeds the form directly on a product or landing page, ideal for single-product stores or ad-driven campaigns
Test what fits your specific catalog — for complex orders, a well-paced multi-step flow can outperform a crammed single page.
Auto-Apply Coupons Instead of Making Shoppers Search for Them
Automatically applying eligible discounts prevents a specific abandonment pattern: a shopper sees an empty coupon field, assumes a discount exists, opens a new tab to search for one, and never returns. Where it makes sense, auto-apply qualifying discounts or clearly display any applicable coupon on the checkout page itself.
Exclude Checkout From Full-Page Caching
Checkout and cart pages must be excluded from full-page caching because they’re dynamic by nature — caching them can cause stale cart contents, incorrect totals, or one customer’s session appearing in another’s browser. Confirm your caching plugin or host excludes checkout, cart, and my-account pages, and separately optimize overall site speed so the non-cached checkout page still loads fast.
Because checkout pages rely heavily on dynamic state management, understanding why server-side rendering matters helps ensure cart sessions never show stale data.
2. Improve Checkout Page Appearance and Branding
Matching your checkout page’s design to the rest of your store reinforces the trust you’ve built everywhere else on the site — an unstyled, default-looking checkout form undermines that trust right at the final step.
Practical ways to align checkout with your brand:
- Match fonts, colors, and spacing to your storefront
- Replace field labels with placeholder text to reduce visual clutter
- Increase button size and contrast so “Place Order” is unmistakable
- Check color contrast and font readability against accessibility standards so the page works for all customers
Most of this can be done with CSS in your child theme’s style.css or the Additional CSS panel in the Site Editor or Customizer.
3. Turn Checkout Into a Loyalty and Satisfaction Touchpoint
Checkout can increase both immediate revenue and long-term retention when it offers real shipping choices, optional add-ons, and thoughtful trust signals — not just a payment form.
Offer Real Shipping Choices
Giving shoppers a genuine choice in shipping speed and cost directly reduces abandonment, since unexpected shipping costs and slow delivery estimates are consistently among the top reasons carts get abandoned. Useful options include:
- Free shipping above a set order threshold
- A faster, flat-rate expedited option
- A delivery date/time picker for local delivery or time-sensitive orders
Add Optional Checkout Add-Ons
Dedicated add-on fields — rather than a generic order notes box — let you offer paid extras while keeping orders organized and trackable. Common examples:
- Paid personalization or engraving
- Gift wrapping, gift messages, and gift receipts
- Rush processing
- Optional tips
Show these conditionally, based on cart value or specific products, so the form doesn’t grow for every customer.
Use Trust Signals Deliberately, Not Excessively
Trust badges reassure hesitant buyers only when used sparingly and paired with genuine security — excessive or poorly chosen badges can slow page load and look less credible than a clean checkout with none at all. If you use them, prioritize:
- Recognized payment method icons
- A concise money-back guarantee or return policy line
- A genuine SSL indicator
Test Relevant Upsells Before Committing to Them
Product recommendations at checkout can lift average order value, but only when they’re relevant and optional — otherwise they read as an interruption. Test placement across the cart page, checkout page, and order-received page to see what your audience responds to.
4. Use Checkout as a Marketing Opt-In Moment
An optional email or SMS opt-in checkbox at checkout lets you grow your marketing list without adding friction, since checkout is often the last moment you have a customer’s full attention before they leave your site. Most major email marketing plugins support this natively, placed near the email or phone field.
5. Add Custom Fields for Industry or Legal Requirements
Some businesses need checkout fields beyond the WooCommerce defaults to meet operational or legal requirements:
- Booking-based businesses (rentals, accommodations, appointments) may need date pickers, check-in/check-out preferences, or deposit fields
- Live-animal or perishable-goods sellers may need shipping disclaimers and delivery-window information
- International sellers may need region-specific fields — for example, different return policy text for EU customers than for US customers
A conditional field plugin lets you build these fields once and control exactly when they appear, keeping the form lean for customers who don’t need them.
Common Mistakes to Avoid When Customizing Checkout
Avoiding these mistakes prevents most of the checkout problems store owners run into after making changes:
- Hiding fields that are actually required for accurate tax, shipping, or legal compliance
- Installing too many overlapping plugins that slow the page down
- Skipping mobile testing after every layout change
- Treating trust badges as a substitute for real security rather than a complement to it
- Guessing instead of testing major changes like one-page vs. multi-step checkout
Final Thoughts
There’s no universal template for the ideal WooCommerce checkout — the right customization depends on your products, your customers, and your industry’s specific requirements. The underlying goals stay constant: remove friction, build trust, and make it effortless for someone who already wants to buy to actually complete the purchase.
Start with the changes that address real friction — a shorter form, guest checkout, a distraction-free layout — then layer in loyalty and revenue-focused touches like add-ons, shipping options, and marketing opt-ins. Test as you go, and your checkout page becomes one of your store’s strongest conversion tools rather than its biggest leak.
Leave a Reply